 Kerim Koç
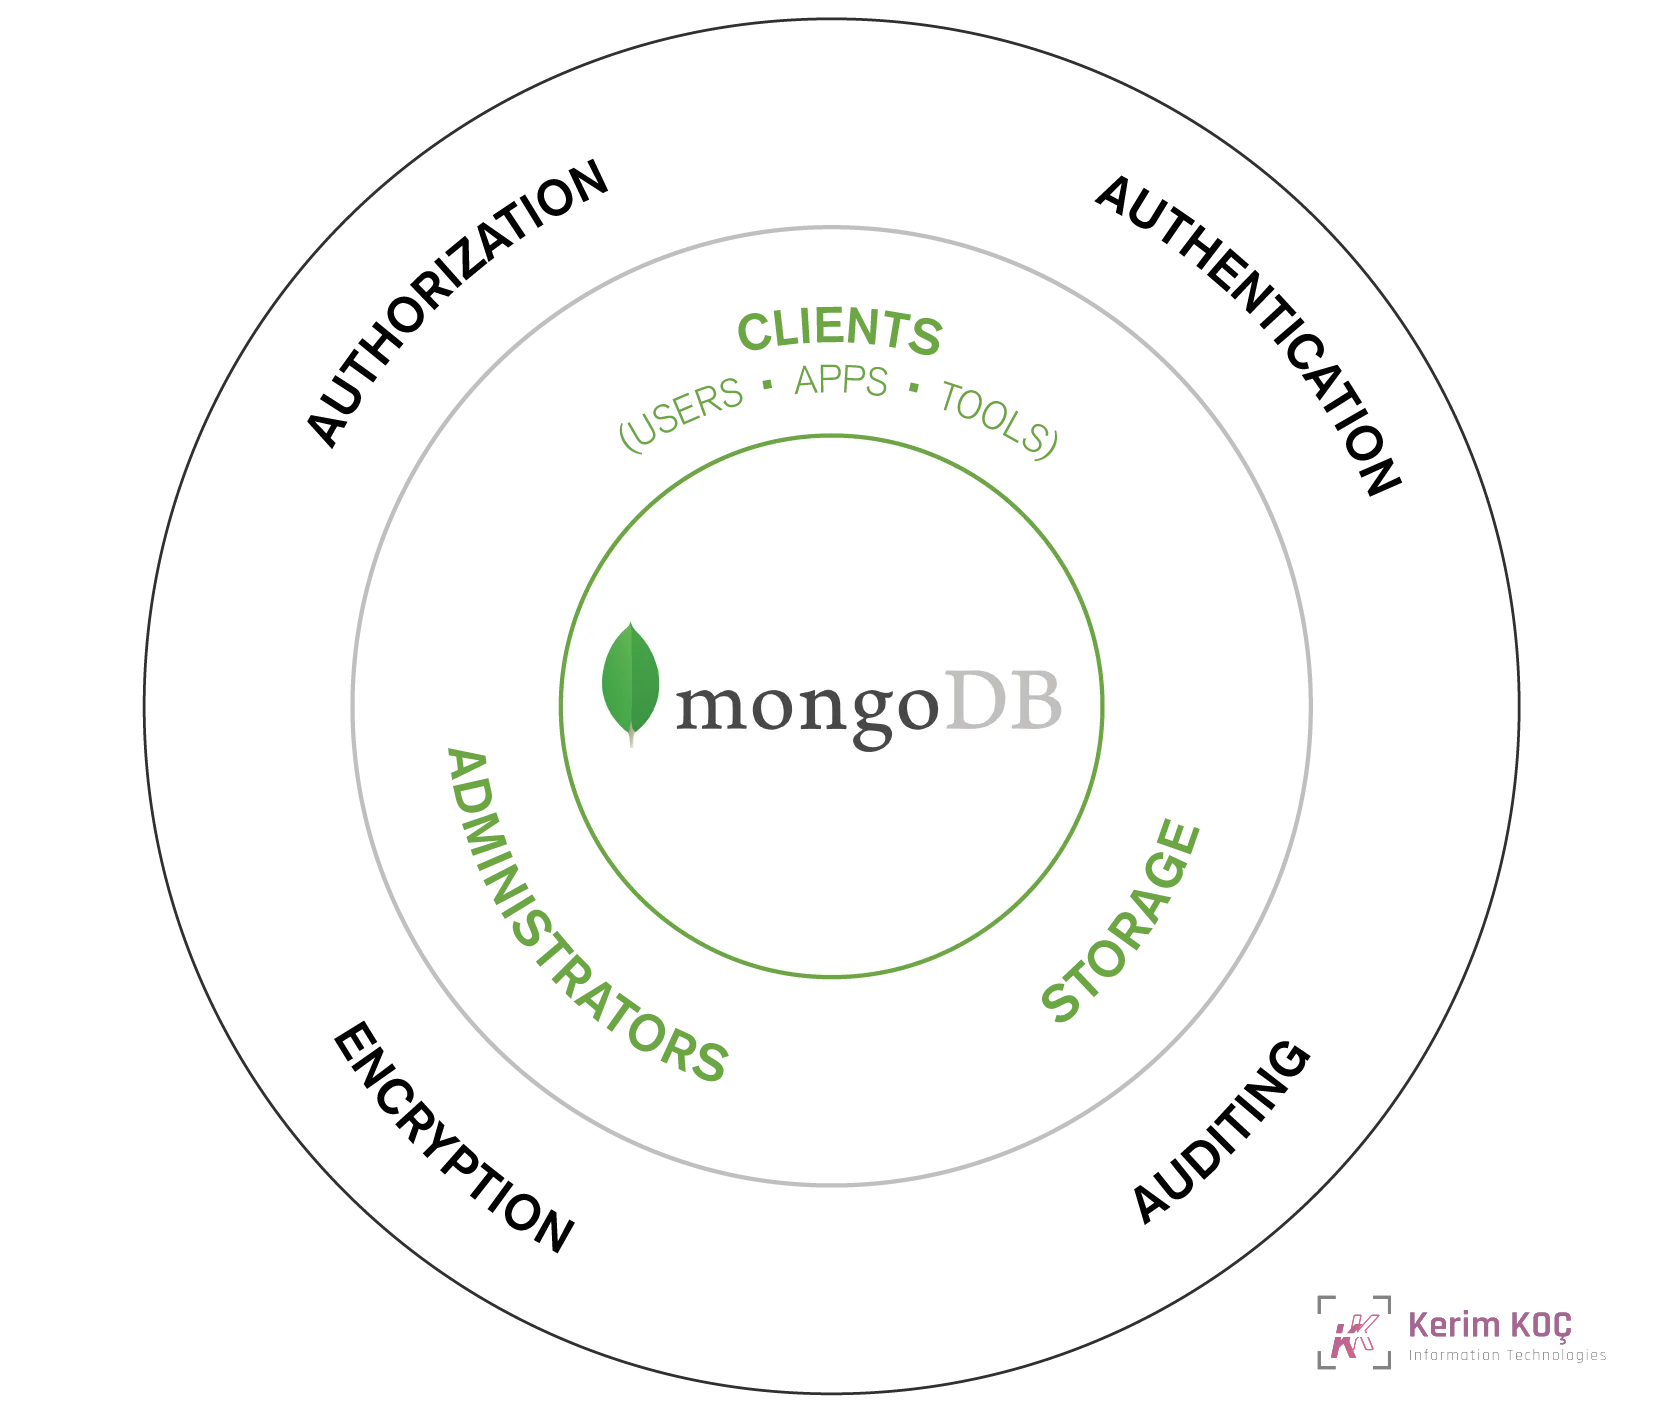
Since the release of version 3.0, the MongoDB daemon has been configured to accept connections only from the local Unix socket, and it is not automatically exposed to the wider Internet. However, authentication is still disabled by default. This means that any user with access to the server where MongoDB is installed also has full access to the databases.
As a first step in protecting against this vulnerability, you will create an administrative user. Then you will enable authentication and connect as that administrative user to access the database.
To add an administrative user, you must first connect to the Mongo shell. Because authentication is disabled, you can do this with the mongo command, with no other options:
mongoThere will be some output above the Mongo shell prompt. Because you have not yet enabled authentication, it will include a warning that access control is not enabled for the database and that read and write access to data and the database configuration is unrestricted:
OutputMongoDB shell version v4.4.0
 . . .
2020-06-09T13:26:51.391+0000 I  CONTROL  [initandlisten] ** WARNING: Access control is not enabled for the database.
2020-06-09T13:26:51.391+0000 I  CONTROL  [initandlisten] **          Read and write access to data and configuration is unrestricted.
 . . .
>
These warnings will disappear once you enable authentication, but for now they mean that anyone who can access your Ubuntu server can also control your database.
To demonstrate, run Mongo's show dbs command:
show dbsThis command returns a list of every database on the server. However, once authentication is enabled, the list varies depending on the Mongo user's role or what level of access they have to particular databases. Because authentication is disabled, it currently returns every database on the system without restriction:
Outputadmin   0.000GB
config  0.000GB
local   0.000GB
In this example output, only the default databases are visible. However, if you had any databases on your system holding sensitive data, any user could find them with this command.
As part of mitigating this vulnerability, this step focuses on adding an administrative user. To do that, you must first connect to the admin database. This is where information about users, such as their usernames, passwords and roles, is stored:
use adminOutputswitched to db adminMongoDB comes with a number of JavaScript-based shell methods that you can use to manage your database. One of them, the db.createUser method, is used to create new users on the database the method is run against.
Begin the db.createUser method:
db.createUser(This method requires you to specify a username and password for the user, along with any roles you want the user to have. Recall that MongoDB stores its data in JSON-like documents. So when you create a new user, all you are doing is creating a document that holds the appropriate user data as separate fields.
As with objects in JSON, documents in MongoDB begin and end with curly braces ( { and }). To begin adding a user, enter an opening curly brace:
Note : Mongo will not register the db.createUser method as complete until you enter the closing parenthesis. Until you do, the prompt will change from a greater-than sign ( >) to an ellipsis ( ...).
{Next, enter a user: field whose value is the username you want, in double quotes, followed by a comma. The following example specifies the username AdminKerim, but you can enter any username you like:
user: "AdminKerim",Next, enter a pwd field with the passwordPrompt() method as its value. When you execute the db.createUser method, the passwordPrompt() method will provide a prompt for you to enter your password. This is more secure than the alternative, which is to type your password in plain text, as you did for your username.
Note : The passwordPrompt() method is only compatible with MongoDB versions 4.2 and newer. If you are using an older version of MongoDB, you will need to type your password in plain text, similar to how you typed your username:
pwd: "password",Be sure to follow this field with a comma as well:
pwd: passwordPrompt(),Next, enter the roles you want your administrative user to have. Because you are creating an administrative user, you should at a minimum give it the userAdminAnyDatabase role on the admin database. This will allow the administrative user to create and modify new users and roles. Because the administrative user has this role on the admin database, it also gives them superuser access to the entire cluster .
In addition, the following example also gives the administrative user the readWriteAnyDatabase role. This gives the administrative user the ability to read and modify data in any database in the cluster, except for the config and local databases, which are mostly for internal use:
roles: [ { role: "userAdminAnyDatabase", db: "admin" }, "readWriteAnyDatabase" ]Next, enter a closing brace to mark the end of the document:
}Then enter a closing parenthesis to close and execute the db.createUser method:
)All together, your db.createUser method should look like this:
> db.createUser(
... {
... user: "AdminKerim",
... pwd: passwordPrompt(),
... roles: [ { role: "userAdminAnyDatabase", db: "admin" }, "readWriteAnyDatabase" ]
... }
... )
If the syntax of every line is correct, the method will execute properly and you will be prompted to enter a password:
OutputEnter password: Enter a strong password of your choice. You will then receive confirmation that the user was added:
OutputSuccessfully added user: {
	"user" : "AdminKerim",
	"roles" : [
		{
			"role" : "userAdminAnyDatabase",
			"db" : "admin"
		},
		"readWriteAnyDatabase"
	]
}
After this, you can exit the MongoDB client:
exitAt this point, your user will be allowed to enter credentials. However, they will not be required to do so until you enable authentication and restart the MongoDB daemon.
Step 2 — Enabling Authentication
To enable authentication, you must edit MongoDB's configuration file, mongod.conf. After you enable it and restart the Mongo service, users will still be able to connect to the database without authenticating. However, they will not be able to read or modify any data until they provide a correct username and password.
Open the configuration file in your preferred text editor. Here we will use nano:
sudo nano /etc/mongod.confScroll down to find the commented-out security section:/etc/mongod.conf
. . .
#security:
#operationProfiling:
. . .
Uncomment this line by removing the pound sign (#):/etc/mongod.conf
. . .
security:
#operationProfiling:
. . .
Then add the authorization parameter and set it to enabled. When you are done, the lines should look like this:/etc/mongod.conf
. . .
security:
  authorization: enabled
. . .
Note that the security: line has no spaces at the beginning, while the authorization: line is indented by two spaces.
After adding these lines, save and close the file. If you opened the file with nano, do so by pressing CTRL + X, Y, then ENTER.
Then restart the daemon to put these new changes into effect:
sudo systemctl restart mongodNext, check the status of the service to make sure it restarted correctly:
sudo systemctl status mongodIf the restart command was successful, you will get output indicating that the mongod service is active and was recently started:
Output● mongod.service - MongoDB Database Server
     Loaded: loaded (/lib/systemd/system/mongod.service; enabled; vendor preset: enabled)
     Active: active (running) since Tue 2020-06-09 22:06:20 UTC; 7s ago
       Docs: https://docs.mongodb.org/manual
   Main PID: 15370 (mongod)
     Memory: 170.1M
     CGroup: /system.slice/mongod.service
             └─15370 /usr/bin/mongod --config /etc/mongod.conf

Jun 09 22:06:20 your_host systemd[1]: Started MongoDB Database Server.
After verifying that the daemon is back up and running, you can test that the authentication setting you added works as expected.
Step 3 — Testing the Authentication Settings
To begin testing that the authentication requirements you added in the previous step work correctly, start by connecting without specifying any credentials to verify that your actions are indeed restricted:
mongo Now that you have enabled authentication, none of the warnings you saw earlier will appear:
OutputMongoDB shell version v4.4.0
connecting to: mongodb://127.0.0.1:27017/?compressors=disabled&gssapiServiceName=mongodb
Implicit session: session { "id" : UUID("5d50ed96-f7e1-493a-b4da-076067b2d898") }
MongoDB server version: 4.4.0
>
Confirm whether your access is restricted by running the show dbs command again:
show dbsRecall from Step 1 that your server has at least a few default databases. In this case, however, the command will produce no output, because you have not authenticated as a privileged user.
Because this command does not return any information, it is safe to say the authentication setting is working as expected. You also cannot create users or perform other privileged tasks without authenticating first.
Go ahead and exit the MongoDB shell:
Note : Instead of running the exit command as you did earlier in Step 1, an alternative way to close the shell is to simply press CTRL + C.
exitNext, make sure your administrative user can authenticate correctly by running the following mongo command to connect as that user. This command includes the -u flag, which precedes the name of the user you want to connect as. Be sure to replace AdminKerim with your own administrative username. It also includes the -p flag, which will prompt you for the user's password, and specifies admin as the authentication database in which the given username was created:
mongo -u AdminKerim -p --authenticationDatabase adminEnter the user's password when prompted and you will be dropped into the shell. Once there, try issuing the show dbs command again:
show dbsThis time, because you have authenticated correctly, the command will successfully return a list of all the databases currently on the server:
Outputadmin   0.000GB
config  0.000GB
local   0.000GB
This confirms that authentication was successfully enabled.


