 Kerim Koç

Hello
In this post, we will show you how to install Plesk Panel on a Linux Ubuntu operating system over ssh. Before starting the Plesk installation, log in via ssh and
sudo apt-get update
update our Ubuntu operating system with this command. Once the update is complete, we start our Plesk Panel installation by following the steps below in order.
First;
wget http://autoinstall.plesk.com/plesk-installer we download the Plesk Panel installer file to our server with this command.
chmod +x plesk-installer we give the installer file the necessary permissions with this command
./plesk-installer and we start the installation with this command.
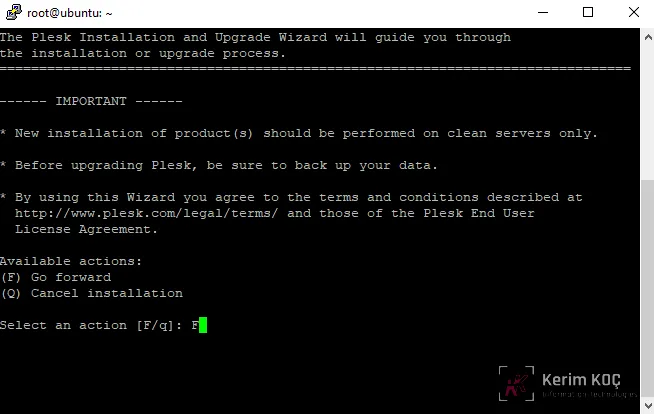
1) After running the Plesk installer command, a screen like the one below will appear. Here we press the F key, hit enter and move on to the next step.
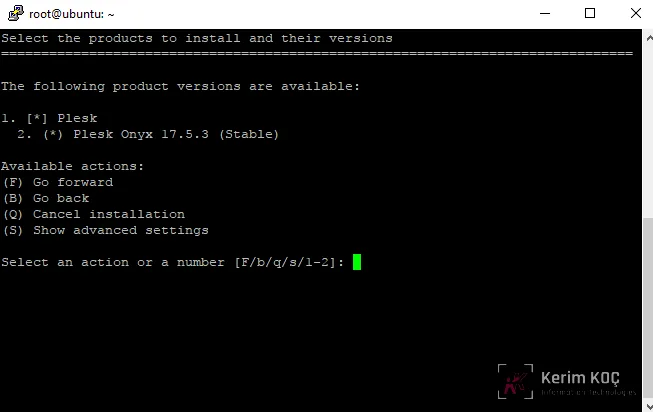
2) This time a screen appears where we choose which version of Plesk Panel we want to install. We always recommend selecting the stable release. Since version 12.5.30 is shown as the stable release we can install for Ubuntu right now, we install this version. To continue, we again press the F key and hit enter.
3) In this step, we continue by pressing Yes, that is the Y key, and then hitting enter.
4) In this step you can choose according to your needs. Choose Typical for the simplest installation with the fewest features, Full if you want all features enabled, or Custom if you want to pick specific features yourself, by typing the numbers on the left. Since I will do a Full installation here, I first press 3, then hit enter to select the Full option and continue with the installation.
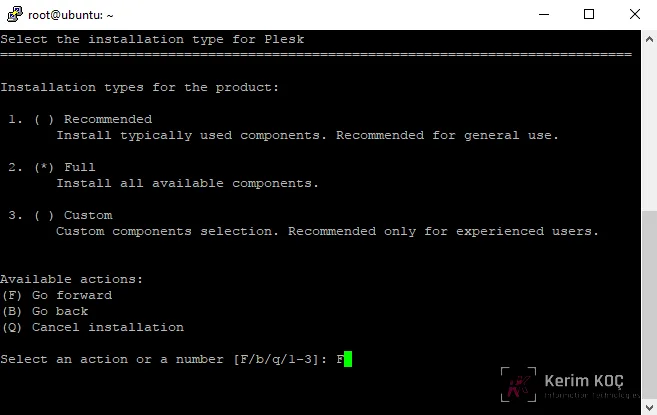
5) After pressing 3 to select the full option, I need to press the F key to continue the installation, so I press F, hit enter and continue.
6) This step shows the required disk space. It says about 2.5 GB of disk space is needed. Since I have around 12.5 GB of disk space, this is not a problem, and I press the F key to continue the installation.
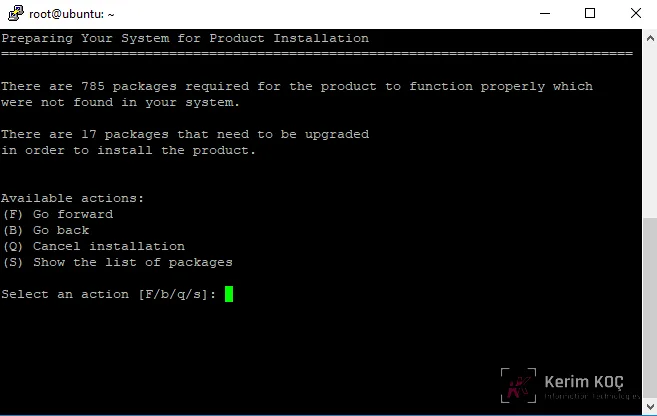
7) This step shows the number of packages to be installed and the number of packages to be upgraded. It reports that 424 packages will be installed and 11 packages will be updated (upgraded). Again I press the F key and then Enter to start the installation. The installation time may vary depending on the server specifications and the server's internet connection. On average, your installation will be completed within 30 minutes if nothing goes wrong.
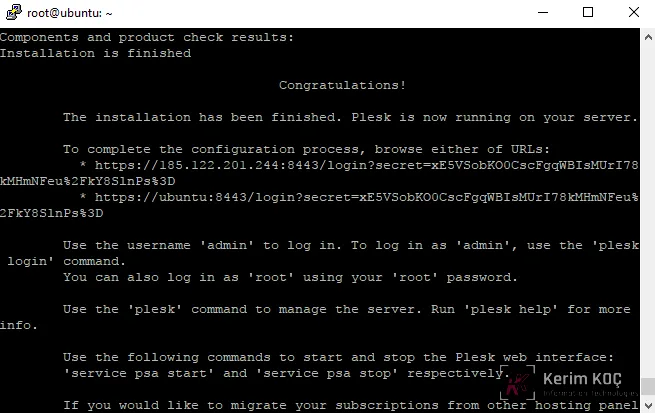
8) And finally we see a message like the one below. It indicates that the installation of our Plesk panel is complete.
Patches were installed successfully.
The changes were applied successfully.
Your Plesk panel installation is complete and you can now log in to your panel and start using it. To do so,
you can access your Plesk panel at http://youripaddress:8880 or https://youripaddress:8443 . Your Plesk panel login credentials are the same as your ssh login credentials.
NOTE: If you cannot access the Plesk panel, you are most likely being blocked by iptables. To fix this, you can stop the firewall over ssh with the sudo ufw disable command.


