Kerim Koç

Contents
Welcome to our guide on how to install the Openfire XMPP chat server on Ubuntu 18.04 | 16.04. Openfire is a popular and powerful instant messaging (IM) server that uses the XMPP / Jabber protocol. Openfire also has all the features of a good Presence Server.
For a CentOS 7 server, bookmark -> Install the Openfire XMPP chat server on Centos 7.x
Openfire has proven to be the foundation for a number of products that use XMPP. You can extend its features by using plugins such as the Asterisk IM plugin and by integrating it with third-party tools .
Openfire can also be described as a real-time collaboration (RTC) server that requires a client to use it, but there are client stacks available that support the XMPP protocol. One of the most popular clients, delivered by the same developers who designed Openfire, is Spark .
XMPP (Extensible Messaging and Presence Protocol) is a widely adopted open protocol for instant messaging. It is an XML-based real-time communication protocol (it includes chat).
Openfire provides great features such as the following:
- Support for MySQL, Oracle, PostgreSQL and an embedded database for storing user details and messages.
- LDAP integration support
- Both TLS and SSL support for security
- Web GUI configuration manager
- Spark IM client integration
- Many plugins to extend its functionality
- Clustering to avoid a single point of failure
- Integration with other external IM servers
Installing Openfire on Ubuntu 18.04 | Ubuntu 16.04
Installing Openfire on Ubuntu 18.04 is a fairly simple process. Follow the steps below to install and configure Openfire on your system.
Step 1: Update system packages:
Make sure all packages on your Ubuntu 18.04 system are up to date:
sudo apt-get update
sudo apt-get upgrade
Step 2: Install the JAVA JDK
After the packages are updated, install openjdk-8-jdk or 9 if you wish. The openjdk-8-jdk package is available in the official Ubuntu repositories. Install it by running this command:
$ sudo apt-get install openjdk-8-jdk $ java -version openjdk version "1.8.0_171" OpenJDK Runtime Environment (build 1.8.0_171-8u171-b11-0ubuntu0.18.04.1-b11) OpenJDK 64-Bit Server VM (build 25.171-b11, mixed mode)Step 3: Install the MySQL / MariaDB or PostgreSQL database server
You can choose a database from the supported database servers. For this setup, we will install MariaDB or MySQL.
sudo apt install mariadb-server
Create a database user:
Create the database for Openfire:
$ sudo mysql -u root
CREATE DATABASE openfire;
GRANT ALL PRIVILEGES ON openfire.* TO openfire@localhost IDENTIFIED BY 'StrongP@ssword123!';
FLUSH PRIVILEGES;
QUIT
We will import the Openfire database data later.
Step 4: Download and Install Openfire
Download the Openfire package . You can get the latest release from the Download link . As of this writing, the latest version is Openfire 4.5.2.
wget https://www.igniterealtime.org/downloadServlet?filename=openfire/openfire_4.5.2_all.deb -O openfire.deb
Now let's install it:
sudo dpkg -i openfire.deb
Check the application status:
$ systemctl status openfire ● openfire.service - LSB: Start/stop openfire jabber server Loaded: loaded (/etc/init.d/openfire; generated) Active: active (running) since Tue 2018-06-26 12:00:06 UTC; 9min ago Docs: man:systemd-sysv-generator(8) Tasks: 22 (limit: 1153) CGroup: /system.slice/openfire.service └─28050 /usr/lib/jvm/java-8-openjdk-amd64/jre/bin/java -server -DopenfireHome=/usr/share/openfire -Dopenfire.lib.dir=/usr/share/openfire/lib -classpath /usr/sh Jun 26 12:00:06 haproxy-01 systemd[1]: Starting LSB: Start/stop openfire jabber server... Jun 26 12:00:06 haproxy-01 openfire[28035]: best java alternative in: /usr/lib/jvm/java-8-openjdk-amd64/jre Jun 26 12:00:06 haproxy-01 openfire[28035]: Starting openfire: openfire. Jun 26 12:00:06 haproxy-01 systemd[1]: Started LSB: Start/stop openfire jabber server.
Import the Openfire database schema:
$ mysql -u root -p Enter password: Welcome to the MySQL monitor. Commands end with ; or \g. Your MySQL connection id is 6 Server version: 5.7.22-0ubuntu18.04.1 (Ubuntu) Copyright (c) 2000, 2018, Oracle and/or its affiliates. All rights reserved. Oracle is a registered trademark of Oracle Corporation and/or its affiliates. Other names may be trademarks of their respective owners. Type 'help;' or '\h' for help. Type '\c' to clear the current input statement. mysql> use openfire; Database changed mysql> source /usr/share/openfire/resources/database/openfire_mysql.sql; mysql> show tables;Step 5: Configure the Firewall and Access the Openfire User Interface
If you have an active firewall service, you need to allow the ports for Openfire. My Ubuntu 18.04 system is running ufw :
$ sudo ufw enable $ for i in 9090 9091 5222 7777; do sudo ufw allow $i; doneTo access the GUI, you will use the server's IP address and port 9090:
http://<server-ip|domain>:9090You will see the Openfire setup window:
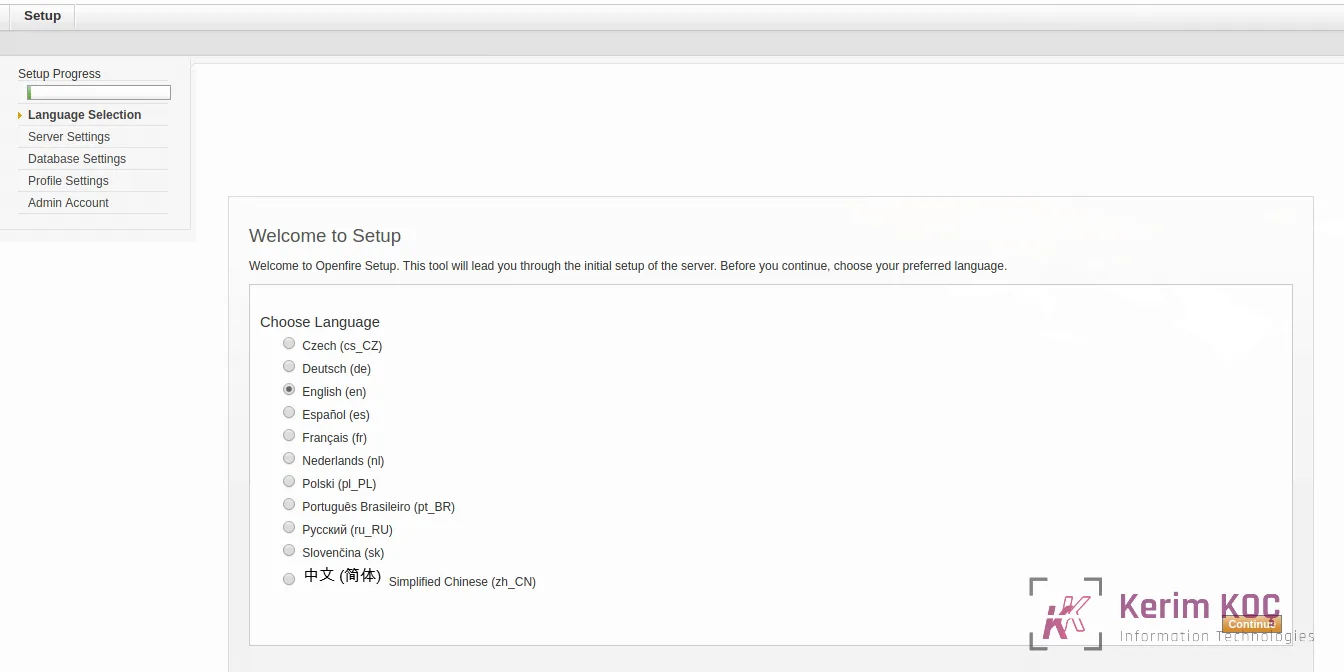
Select your default language and then click Continue . In the server setup window, set your domain and click the Continue button.
We will use the following configuration parameters.
Database Driver Presets: MySQL
JDBC Driver Class: com.mysql.jdbc. Driver
Database URL: jdbc: mysql: //127.0.0.1/openfire? UseUnicode = true & characterEncoding = UTF-8 & characterSetResults = UTF-8
Username: openfire
Password: password123!
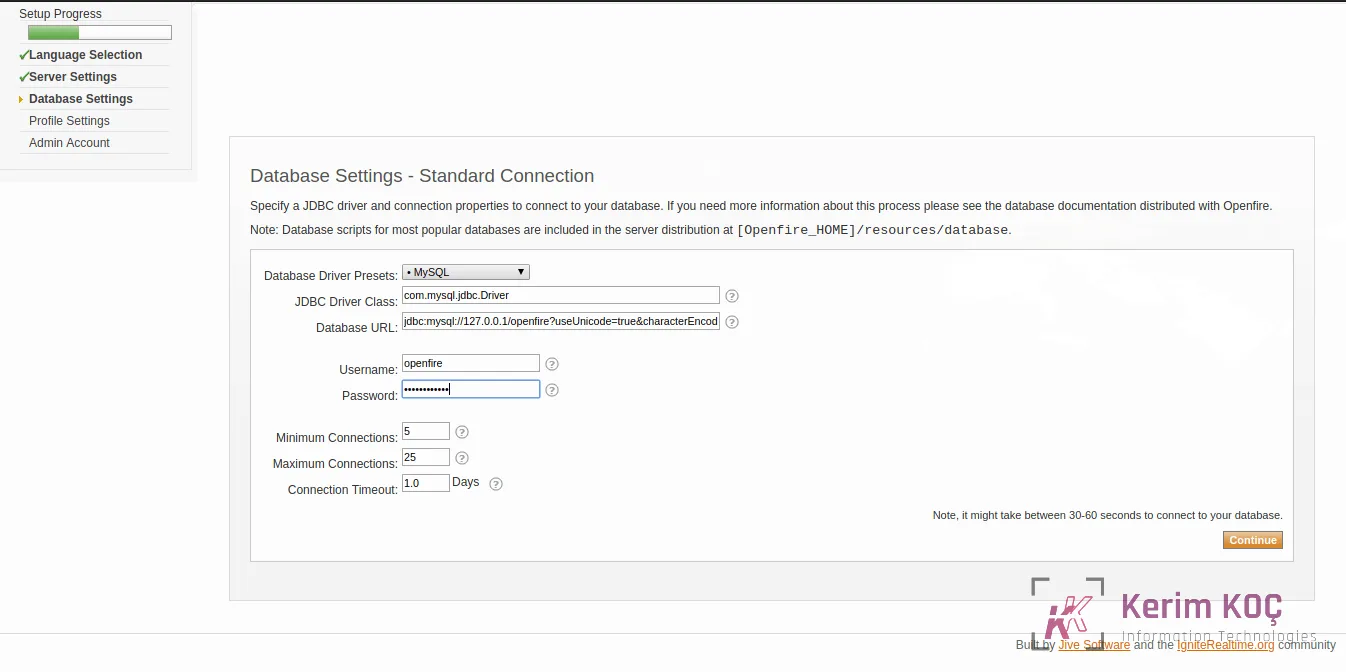
Click Continue and use the Default option in Profile Settings; you can add external authentication mechanisms such as LDAP later
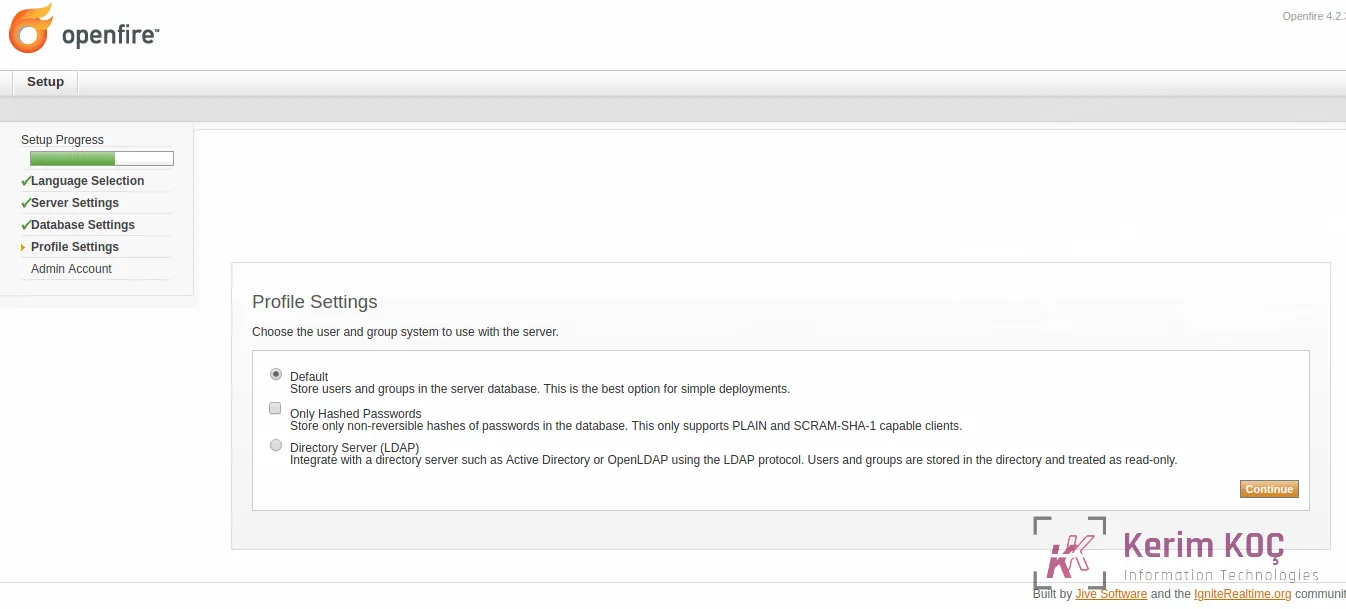
Set the administrator user's email address and password:
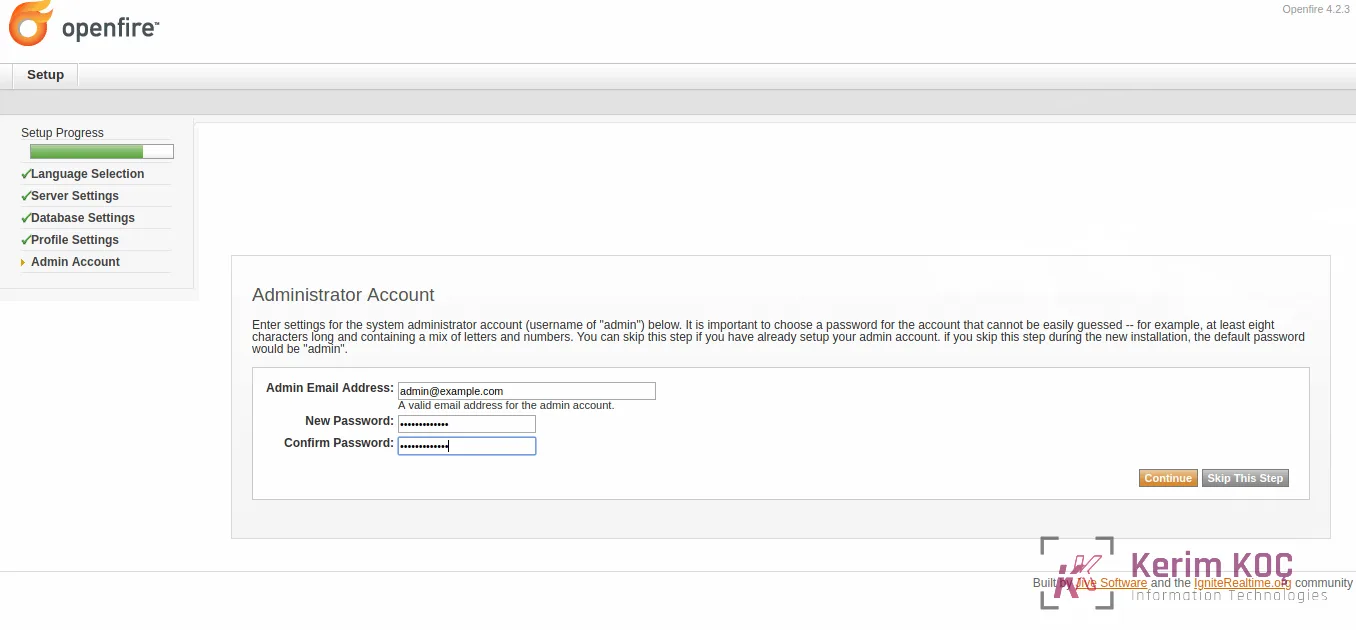
Click Continue to finish the configuration. You will get a login page; log in with admin as the username and enter the password configured above.
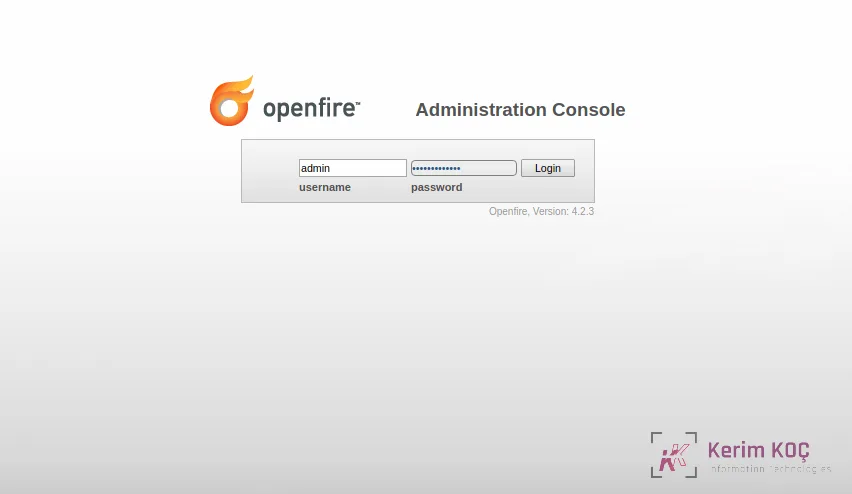
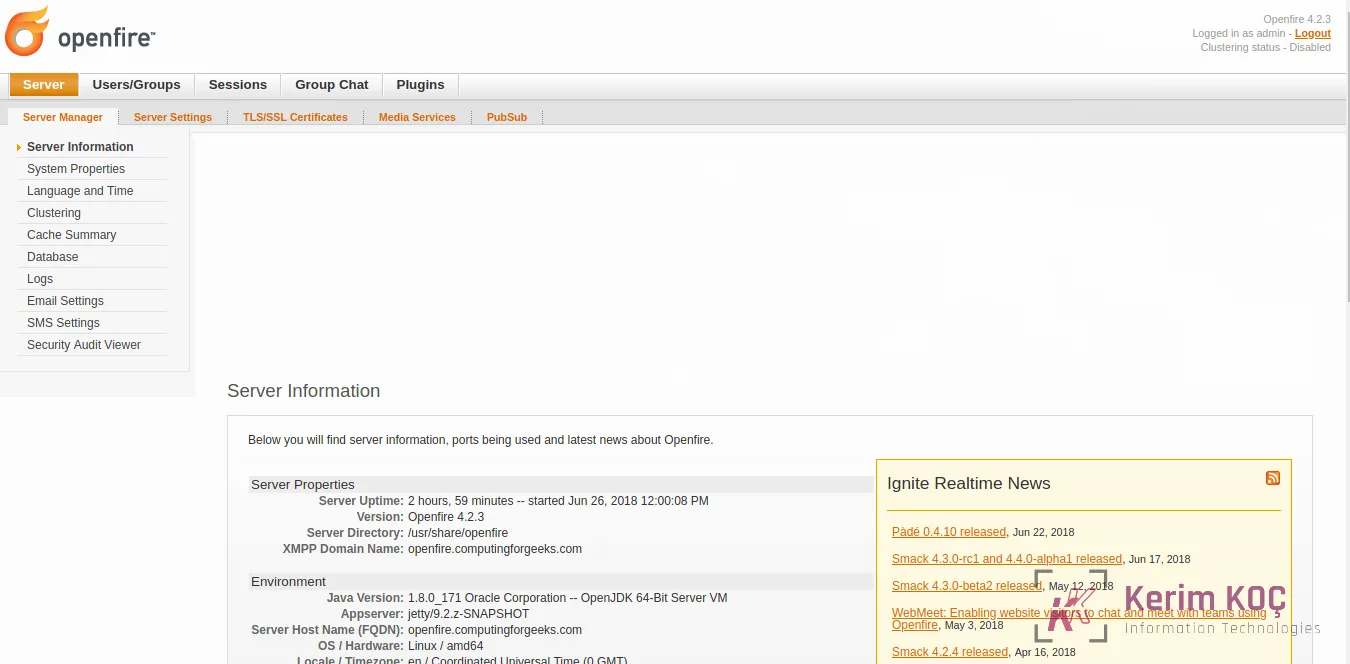
If everything went well, you should have the Openfire Management interface: