Kerim Koç

Step 1: Install Webmin
Since Webmin is the main system configuration tool, you must install it before Virtualmin. Run the commands below to install the required packages.
sudo apt update
sudo apt install python apt-show-versions libapt-pkg-perl libauthen-pam-perl libio-pty-perl libnet-ssleay-perl curl
After that, run the commands below to download the Webmin deb package.
cd /tmp && curl -L -O http://www.webmin.com/download/deb/webmin-current.deb
Finally, install Webmin
sudo apt install ./webmin-current.deb
That should install Webmin...
Step 2: Access Webmin
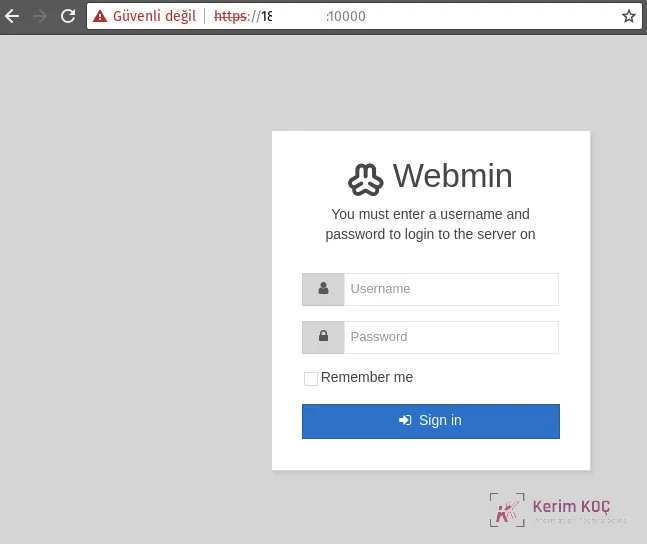
Now that Webmin is installed, you can open your web browser and access the interface by entering the server hostname or IP address followed by port 10000.
If you are connecting from a remote location, you must add your IP address to the allow list... you can do this by running the commands below to open the Webmin default configuration file.
sudo nano /etc/webmin/miniserv.conf
Then add a new line to allow a specific IP or subnet.
allow=192.168.X.XSave the file... You should now be able to access Webmin
Step 3: Install Virtualmin
Before installing Virtualmin, understand that it only supports Ubuntu LTS releases. It cannot be installed on a non-LTS release.
Also, at the time of writing, only Ubuntu 18.04 | 16.04 is supported. Support for 20.04 is being worked on.
Now that Webmin is installed, go ahead and install Virtualmin... Just like cPanel and other hosting packages, Virtualmin lets you manage Apache2 virtual hosts and DNS.
Run the commands below to download the Virtualmin script.
curl -O http://software.virtualmin.com/gpl/scripts/install.sh
Then make the script executable
sudo chmod +x install.sh
Finally, run the commands below to install Virtualmin.
sudo ./install.sh
Accept the default settings and install.
When this is done, you should enable the Virtualmin module for Webmin and start configuring your systems.