 Kerim Koç
Contents
RabbitMQ is the most popular free and open-source message queuing or message broker software. RabbitMQ originally implemented the Advanced Message Queuing Protocol (AMQP). It also supports protocols such as STOMP (Streaming Text Oriented Messaging Protocol) and MQTT (Message Queuing Telemetry Transport).
In general, message broker software is used to send and receive messages between various distributed services, systems or applications.
Written in the Erlang programming language, RabbitMQ has the following features:
- Multi-protocol support – AMQP, MQTT, STOMP, HTTP
- Client interfaces and library support for all major programming languages
- Clustering / High Availability
- A wide range of tools and plugins
- Routing messages between exchanges and queues
- User-friendly web interface to monitor and control the message broker
- Monitoring capabilities
In this tutorial, we will show you how to install RabbitMQ on Ubuntu 18.04 (Bionic Beaver).
Installing RabbitMQ on Ubuntu
#######################################
Operating system: Ubuntu 18.04
IP address	: 192.168.100.21
RAM		: 2GB
DISK space	: 50GB
vCPU		: 2
Hostname	: 192.168.100.21
#######################################
First, let's update the Ubuntu repositories:
sudo apt-get updateAdd the signing key using one of the following commands:
wget -O - "https://github.com/rabbitmq/signing-keys/releases/download/2.0/rabbitmq-release-signing-key.asc" | sudo apt-key add -Or
sudo apt-key adv --keyserver "hkps.pool.sks-keyservers.net" --recv-keys "0x6B73A36E6026DFCA"
Create the RabbitMQ repository file.
nano /etc/apt/sources.list.d/bintray.rabbitmq.listAdd the following repositories to the file.
deb https://dl.bintray.com/rabbitmq-erlang/debian bionic erlang
deb https://dl.bintray.com/rabbitmq/debian bionic main
Save and close the file.
Run the repository update.
sudo apt-get updateInstall RabbitMQ Server.
sudo apt-get install rabbitmq-server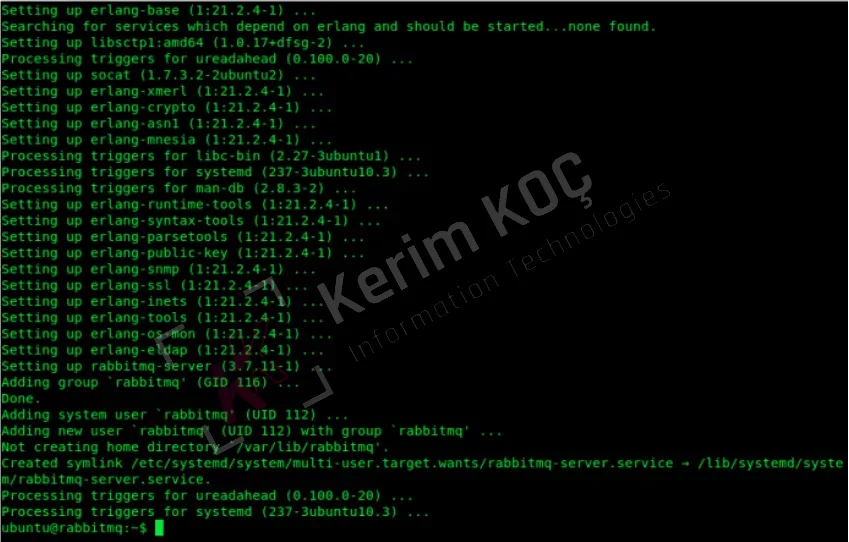
Check the RabbitMQ server status.
sudo systemctl status rabbitmq-server.service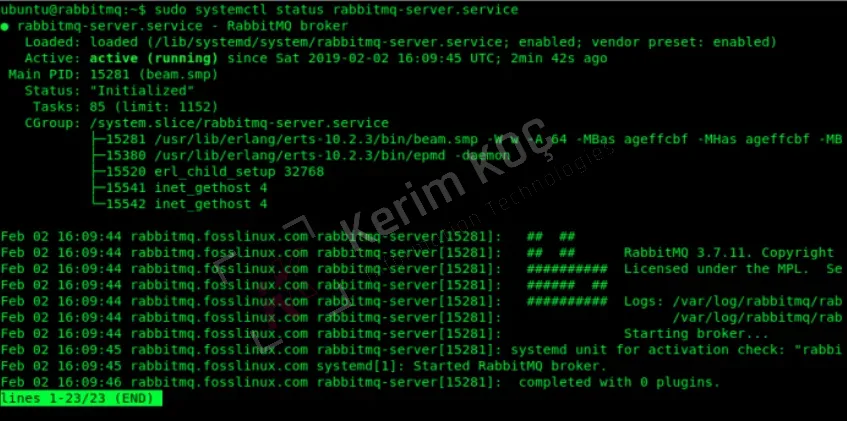
If RabbitMQ is not running, start the service with this command:
sudo systemctl start rabbitmq-server.serviceEnable the RabbitMQ service at system boot.
sudo systemctl enable rabbitmq-serverRabbitMQ Ports
4369: epmd, a peer discovery service used by RabbitMQ nodes and CLI tools
5672, 5671: used by AMQP 0-9-1 and 1.0 clients without and with TLS
25672: used for inter-node and CLI tools communication
35672-35682: used by CLI tools (Erlang distribution client ports) for communication with nodes and allocated from a dynamic range
15672: HTTP API clients, management UI and rabbitmqadmin (only if the management plugin is enabled)
61613, 61614: STOMP clients without and with TLS (only if the STOMP plugin is enabled)
1883, 8883: MQTT clients without and with TLS (if the MQTT plugin is enabled)
15674: STOMP-over-WebSockets clients (only if the Web STOMP plugin is enabled)
15675: MQTT-over-WebSockets clients (only if the Web MQTT plugin is enabled)
Allow the RabbitMQ Management Interface Through the Firewall
The RabbitMQ management console runs on port 15672 and needs to be allowed through the firewall.
sudo ufw allow 15672After a successful installation we can access the web management console, which runs on port "15672".
However, the management console plugin is not enabled by default. This plugin is required to monitor and manage the RabbitMQ server. It is also used to monitor queues and message rates and to manage queues, bindings, users and so on.
Let's see how we can enable the management console plugin. But before doing that, let's take a look at all the available RabbitMQ plugins.
sudo rabbitmq-plugins listNow enable the RabbitMQ Management plugin
sudo rabbitmq-plugins enable rabbitmq_management
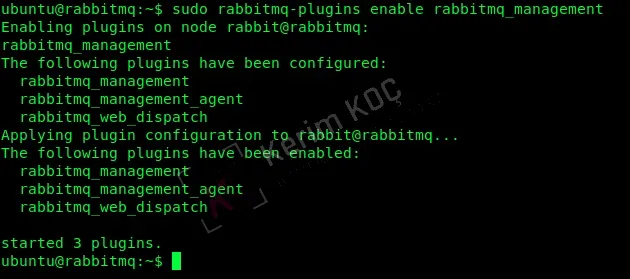
We can access the management console using the default guest user. However, to access the management console remotely, we need to create and add a new administrator user.
Here we create a user with the username 'admin' and the password also 'admin'. For security, however, I recommend using a strong password.
sudo rabbitmqctl add_user admin admin
Now we tag the user we created in the steps above as 'administrator'.
sudo rabbitmqctl set_user_tags admin administrator
We are now ready to restart the RabbitMQ service.
sudo systemctl restart rabbitmq-server.serviceBefore accessing the management interface, let's check the ports on the server.
sudo netstat -tunlp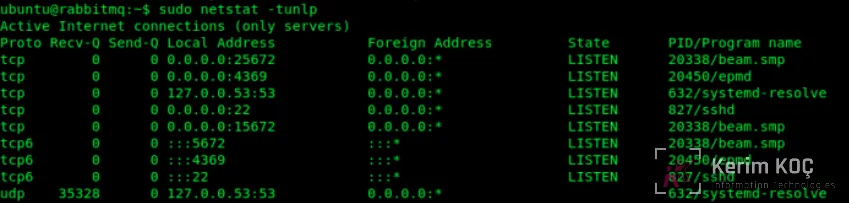
Accessing the Management UI
The management console can be accessed using one of the following URLs:
- http://ServerIp or
- Hostname:15672/
E.g.: – http://192.168.100.21:15672 / or http://rabbitmq.kockerim.com:15672
You will see the console login window.
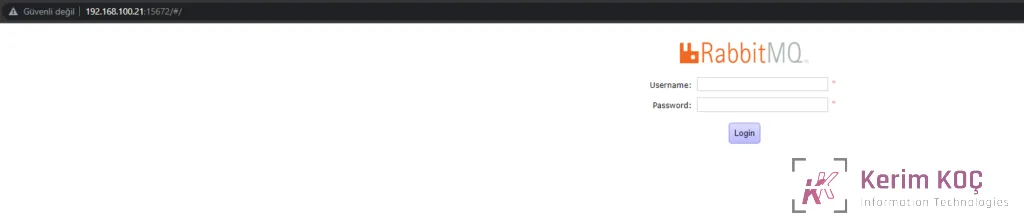
Then, use the administrator username and password created earlier to access the dashboard.
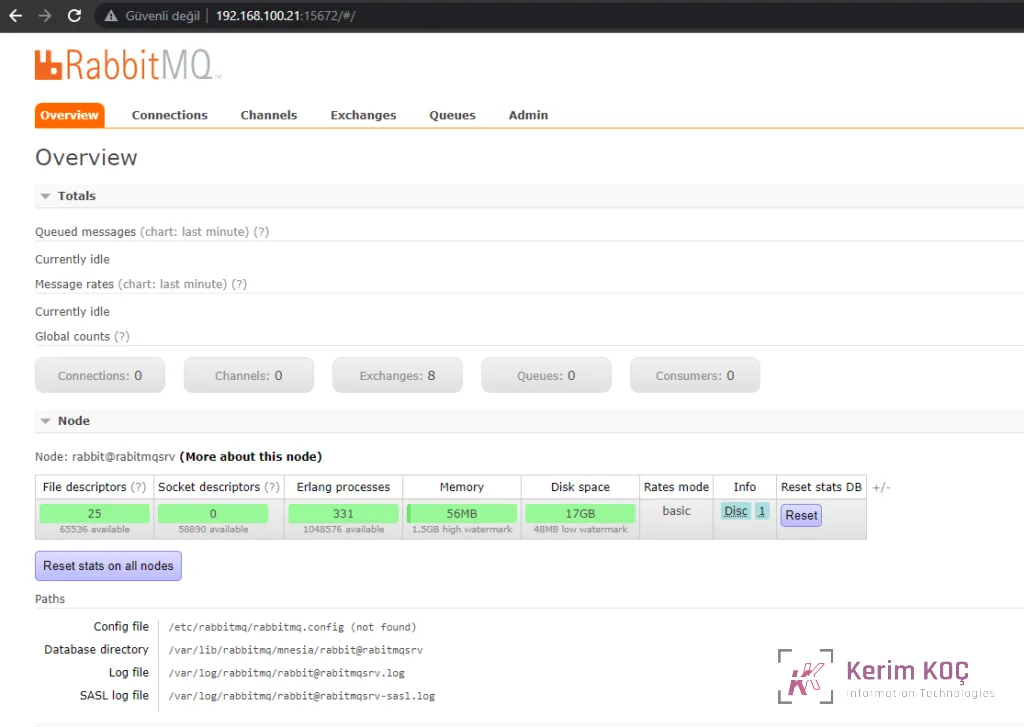
You have successfully installed and configured the RabbitMQ server.


