Kerim Koç

In this tutorial, we will cover how to install Zabbix server 6.2 on Ubuntu 22.04. Zabbix 6.2 is officially the latest release. So let's start this guide for a step-by-step installation.
#######################################
Operating system: Ubuntu 22.04
IP address	: 192.168.100.100
RAM		: 2GB
DISK space	: 50GB
vCPU		: 2
Service		: ZABBIX 6.2
PHP version	: 8.1
Mysql		: 8.0 must be
Hostname	: 192.168.100.100
#######################################
Step #01: Install zabbix 6.2.
root@zabbix:~# apt update && apt -y upgrade
root@zabbix:~# wget https://repo.zabbix.com/zabbix/6.2/ubuntu/pool/main/z/zabbix-release/zabbix-release_6.2-1+ubuntu22.04_all.deb
root@zabbix:~# dpkg -i zabbix-release_6.2-1+ubuntu22.04_all.deb
root@zabbix:~# apt update
root@zabbix:~# apt install -y zabbix-server-mysql zabbix-frontend-php zabbix-nginx-conf zabbix-sql-scripts zabbix-agent
Step #02: Install and configure the MySQL database.
root@zabbix:~# apt install -y mysql-server
root@zabbix:~# systemctl start mysql
root@zabbix:~# systemctl enable mysql
root@zabbix:~# systemctl status mysql
Step #03: Create the database for the zabbix user.
root@zabbix:~# mysql -uroot -pEnter the mysql root password at the login prompt, then create the database, user and password.
create database zabbix character set utf8 collate utf8_bin;
create user zabbix@localhost identified by 'zabbix@123';
GRANT CREATE, ALTER, DROP, INSERT, UPDATE, DELETE, SELECT, REFERENCES, RELOAD on *.* TO 'zabbix'@'localhost' WITH GRANT OPTION;
grant all privileges on zabbix.* to zabbix@localhost;
SET GLOBAL log_bin_trust_function_creators = 1;
FLUSH PRIVILEGES;
\q
Step #04: Import the default zabbix database into the created DB.
root@zabbix:~# zcat /usr/share/zabbix-sql-scripts/mysql/server.sql.gz | mysql -uroot -p zabbix
Then enter the mysql root password.
After the import is complete, change the global configuration.
root@zabbix:~# mysql -uroot -p
Then run the following command
SET GLOBAL log_bin_trust_function_creators = 0;
\q
Step #05: Add the database name, user and password to the zabbix configuration file.
root@zabbix:~# nano /etc/zabbix/zabbix_server.conf
Add the following configuration to the zabbix conf file.
DBName=zabbix
DBUser=zabbix
DBPassword=zabbix@123
Step #06: Set up the nginx web server.
root@zabbix:~# nano /etc/zabbix/nginx.conf
# Uncomment the following section (remove the comment marks) and change it to your server IP address.
listen          80;
server_name	192.168.100.100
Step #07: Restart and enable all services.
root@zabbix:~# systemctl restart zabbix-server zabbix-agent nginx php8.1-fpm
root@zabbix:~# systemctl enable zabbix-server zabbix-agent nginx php8.1-fpm
Access your server IP address and complete the web setup process.
http://192.168.100.100/setup.php
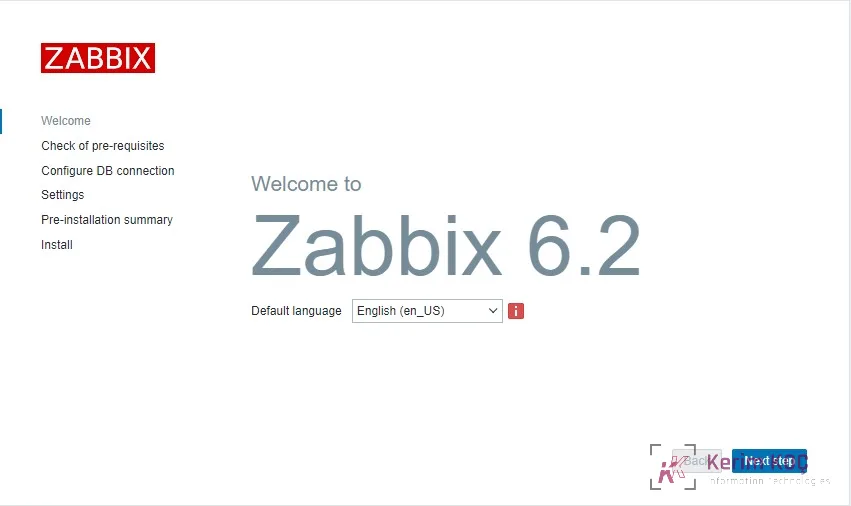
Click Next step to check the prerequisites.
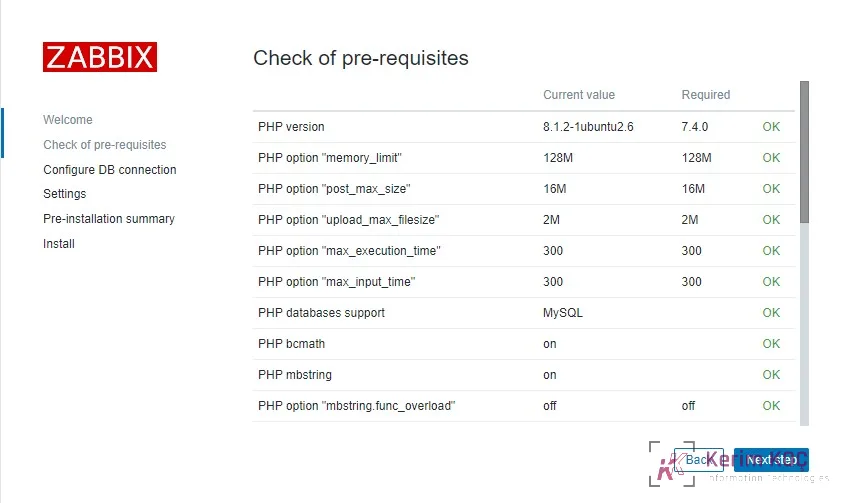
Click Next step to configure the DB connection.
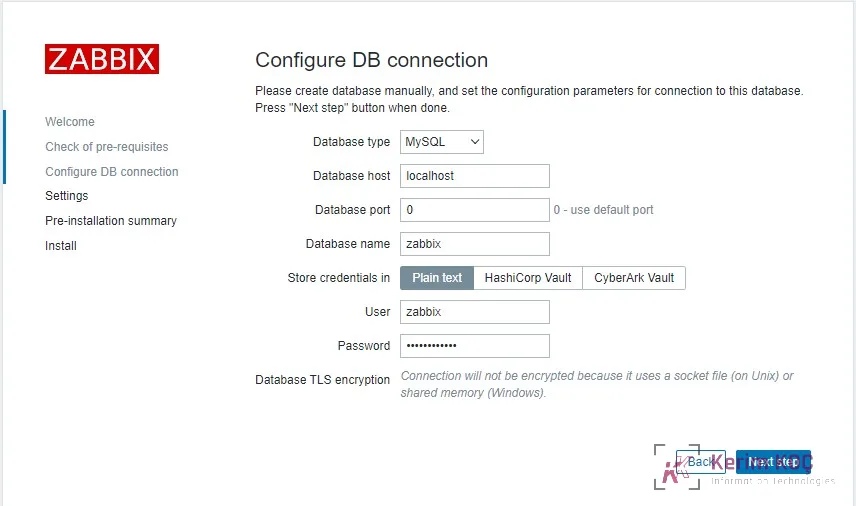
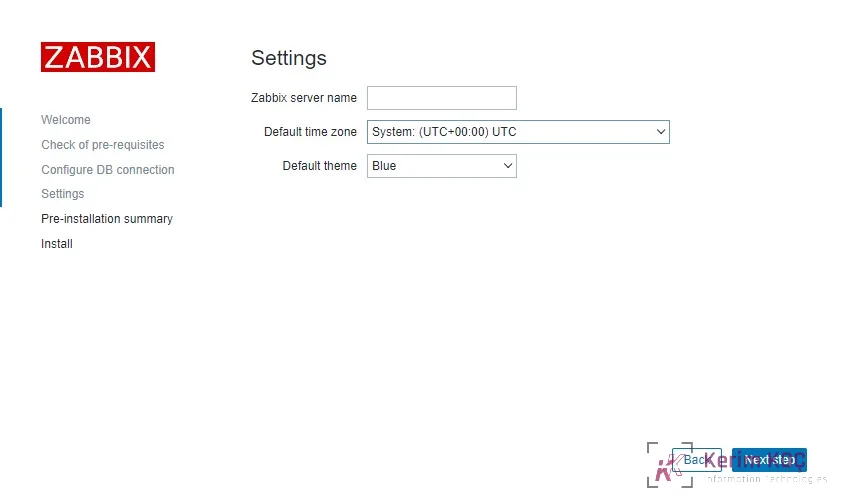
Click Next step to choose a theme, or skip this step.